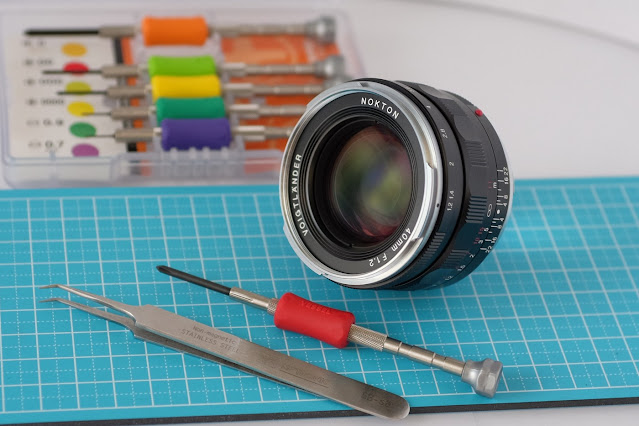
This article is about disassembling newer generation of Voigtlander lens - F1.2 series 40mm Nokton.
Personally I love Voigtlander lens mechanics and optics. They are relatively expensive lens, but machined with very high precision and lots of durability in all parts. Typically Voigtlander lens have brass helicoid parts and lots of interesting engineering solutions for aperture transmission and focusing mechanics. Each time I have a chance to disassemble and repair or clean Voigtlander (or Zeiss ZM) lens – it’s like driving a high quality car that has life-lasting components. Ok, in this article I’m disassembling my Voigtlander 40mm F1.2 NOKTON Aspherical – one of the latest ultra fast Cosina produced lens. There are few negligible specks of dust in aperture chamber that affect nothing, but I’m just so curious to explore this CV 40mm F1.2 mechanics : ) so it’s good enough reason to start.
The reason I’m using Voigtlander 40mm F1.2 in Leica mount is – it can be easily adapted to few systems – Sony A7 and Fujifilm, using simple $11 adapters. It’s also much more compact lens comparing to Sony E version.
Disassembly steps
So first step of course is to accurately unscrew four mount bolts using special flattened screwdriver. Note – it should have parallel surfaces, otherwise bolt heads groove will be slightly deformed by standard flat screwdriver. I’ve used metal file to adjust screwdriver surfaces.
Then, remove mount ring, and thin calibrating shim.
It was big surprise to see three helicoid guiders! But wait, only two of them are actually guiding focus, the third one in the middle is part of the rangefinder couple helicoid which is separate from focusing – that’s very smart solution from Cosina.
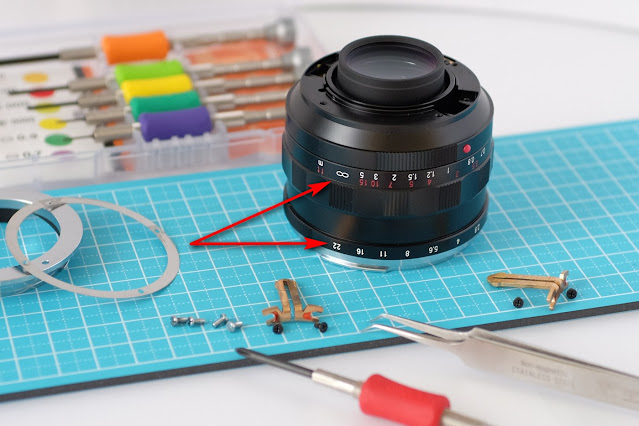
First, focus lens to minimal distance (0.5m) and set aperture to F1.2. We need that to memorize helicoid position for assembly. F22 mark should be near infinity mark.
Unscrew 4 black bolts using JIS screwdriver (I’m using 000 size) and remember their exact position to put them to same place during assembly. Note – there is securing glue that will break when unscrewing – do not remove it, it is required to stay to fit exact brass guider position during assembly.
Just look at these huge thick brass guiders – they are durable like a tank components, and designed to serve long, very long.
Now it’s time to accurately unscrew whole focusing body from lens core Clock Wise (CW). Do not rotate focusing ring, grip frame body and unscrew it slowly until F22 mark reaches 0.6m. This is exact position you should put frame back during assembly.
Pull out focusing frame. That’s interesting – I see aperture transmission pin there, it looks like if I ever need to remove aperture ring most likely front naming plate should be possible to unscrew CCW, but I’ll not do that today – no need.
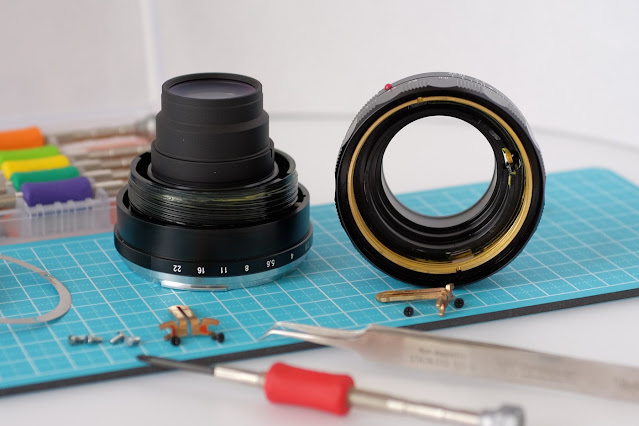
Additional look into focusing frame – just look – lots of brass used, it’s mechanically beautiful! : )
Now accurately unscrew whole rear lens block CCW by holding widest area of it.
At this point you have access to the aperture chamber and both inner glass surfaces (I’ve cleaned tiny dust particle there).
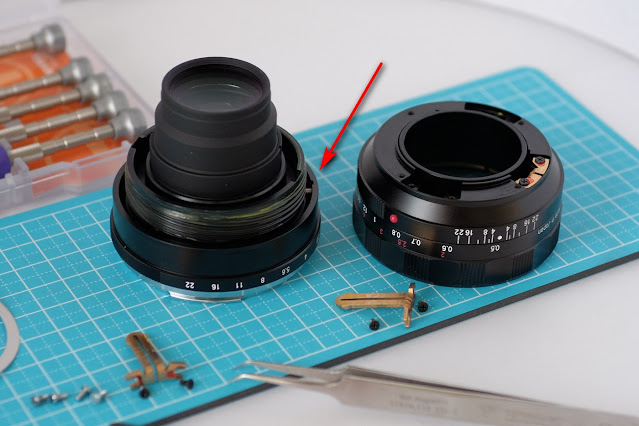
Speaking of focusing ring disassembly, my Voigltnader 40mm F1.2 sample has factory glue applied on top of the black securing ring (one of areas is shown in red). I don’t have a need to break that glue and unscrew the ring, but if you have need to do so, try to find glue dissolving solution (e.g. acetone), and then unscrew ring using spanning wrench.
Third helicoid guiding plate is serving rear moving cylinder of rangefinder transmission. You may see here that there are two separate threads in brass cylinder – upper one for focusing core, and lower one for rangefinder transmission ring.
Assembly steps
For assembly of Voigltander 40mm F1.2 screw in CW rear optical module, then position focusing frame 0.6m mark to match F22 aperture ring mark. Then catch the helicoid thread and slowly rotate frame CCW, until F22 stops firm under infinity mark. If not – unscrew frame and catch thread closer to 0.6m mark.
Look inside slots for brass guiders, slightly adjust focus frame position and insert bot guiders to exact place they were before. Note – guiders orientation is opposite to the middle guider. Then put 4 black bolts to their native locations and screw them in but not completely. Try to focus lens a little forward and backward until bot brass guiders have red glue marks perfectly positioned near bolts, then tighten bolts.
Check again how focusing ring moves in horizontal lens position – it should move smooth like before disassembly. If not – slightly unscrew guider bolts and re position guiders, then tighten bolts and check again.
Finally put calibrating shim and mount ring, screw in all four mount bolts, also not completely. Center mount ring by rotating it, then tighten all four mount bolts.
Conclusions
It was a joy to explore Voigtlander 40mm F1.2 NOKTON Aspherical mechanics and realize that it’s very well made with high precision and durable components. It’s relatively easy to disassemble and maintain Voigtlander mechanics. Access to aperture chamber is also super easy, and it does not affect optical alignment of lens.
Few pictures with Sony A7s and Fujifilm X-T30
Main power of Voigtlander 40mm F1.2 Nokton – nice control of DOF and OOF in the frame which I like a lot.
Tinkering with photo equipment is my big hobby. It's often quite challenging to explore disassembly steps or designing new useful accessories, but also a joy to share them later with people. I keep these activities apart from primary work, though appreciating a small tips for a coffee if you find my shared results useful.


